Showing posts with label Sale-A-Bration. Show all posts

Sunday, February 15, 2015

Butterfly Peek-A-Boo card

Hello!  Today's card is one I like to call a Butterfly Peek-A-Boo card because you can see the pretty designer series paper behind the beautiful butterfly.  What do you think?


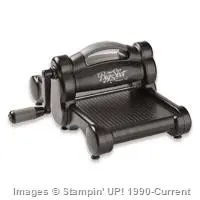
I saw a similar idea on Pinterest, so I thought I would give it a try myself!  I cut the Whisper White layer 3 3/4" by 5" and used the medium butterfly in the Butterflies Thinlits to cut out the butterfly. Next, I ran the panel through the Big Shot with the Polka Dot embossing folder. I cut a small rectangle approximately 3 1/2" 
by 2 1/2" (big enough to cover the butterfly hole) from some pretty paper from the Flower Pot Designer Series Paper, and attached it to the back of the Whisper White panel.

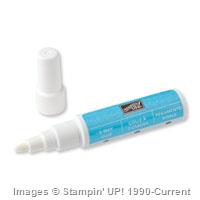
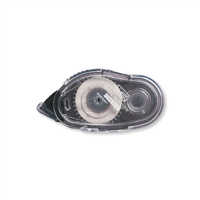
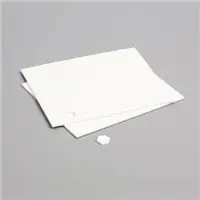
Next, use SNAIL adhesive to attach this layer to the Blushing Bride layer.  Use a 2-Way Glue Pen to apply some glue to the back of the butterfly's body, and press the butterfly back into the cut-out area. Gently curve the wings out, and add a large pearl for the butterfly's head.

Here is a close-up of the butterfly:


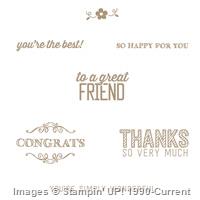
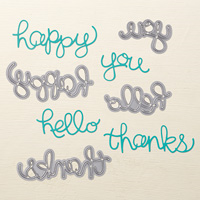
I used the Hello You Thinlits to cut the "hello" from Night of Navy card stock.  And, since it is Sale-A-Bration, I used the Simply Wonderful Sale-A-Bration stamp set to stamp the sentiments inside and on the envelope flap.


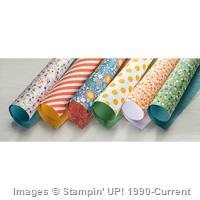
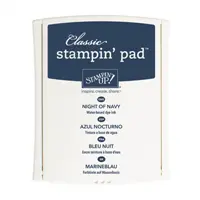
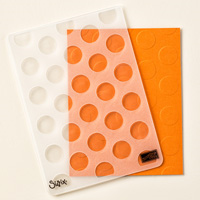
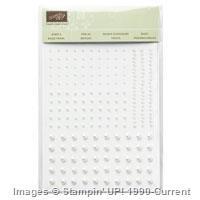
Here are the supplies I used for this card:
You can order these items on my website.  Be sure to use Hostess Code 2VPZNBCY and allow me to contact you to receive a special thank you gift from me!  And, remember -- you get to choose a FREE Sale-A-Bration item for every $50 order (before tax & shipping).  

Happy Stamping,

Monday, February 9, 2015

Big Day!

Happy Monday!  I had a great time yesterday stamping with some fabulous ladies at my Sale-A-Bration stamping class.  All of the projects featured Sale-A-Bration items that you can get for FREE with a qualifying order of $50 or more (before tax & shipping). And, these items are EXCLUSIVE to Sale-A-Bration -- get them while you can.  Sale-A-Bration is in full-swing, and runs through March 31, 2015.

Here is a fun birthday card we made:


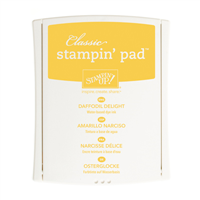
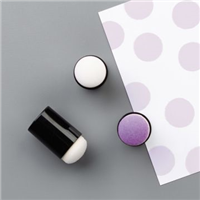
Don't you just love the background paper?  Did you know you can make this background paper ANY color you want?  Yep -- it is the wonderful Sale-A-Bration Irresistably Yours Designer Series Paper! We just added some Daffodil Delight ink with a sponge dauber and wiped away the excess with a paper towel and "ta-da" you have a custom background paper for this card!

Here is a close-up of the "faux chalkboard" technique on our tag element:


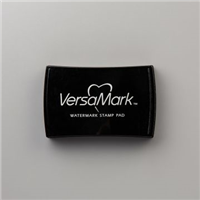
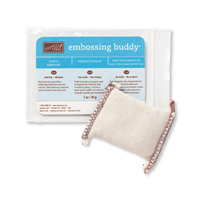
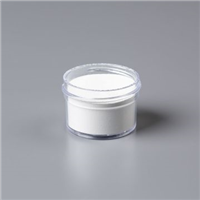
You may be wondering "How did she use different colors to stamp this tag?"  Well, it was really easy!  Heat embossing and our fabulous Blendabilities Markers!  First, rub the Embossing Buddy on the Basic Black card stock.  Ink the stamps with Versamark Ink (I put both stamps on the block at the same time and stamped them together!).  Stamp onto the card stock, add White Stampin' Emboss Powder, shake off the excess, then use the Heat Tool to melt the embossing powder.  Let cool.

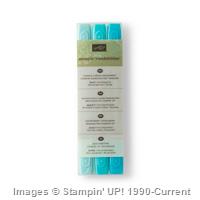
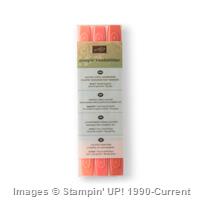
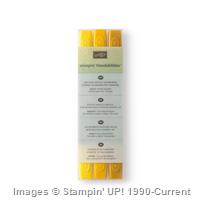
I used the fine-point tip of a Coastal Cabana, Calypso Coral, and Daffodil Delight Blendability Marker to color right on top of the melted embossing powder.  You just need a little bit to go a long way, and be sure to use a light touch when you are adding ink on top of the melted embossing powder.  Did you know you can choose Blendability Markers as your Sale-A-Bration freebie?  Yep -- you sure can!  Blendabilities will continue to be available after Sale-A-Bration, but why not get them for FREE now?

Here is the inside of the card:


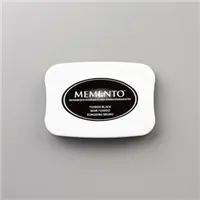
We used Tuxedo Black Momento Ink to stamp the greetings, then used the same Blendabilities to add a little color.  Remember, you must use Momento ink when you are coloring with Blendabilities because Blendabilities are alcohol markers.

Here are the products we used in this card:


Price: $29.95
Price: $4.95
Built for Free Using: My Stampin Blog

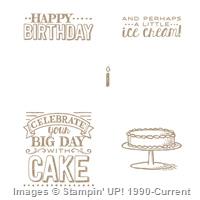
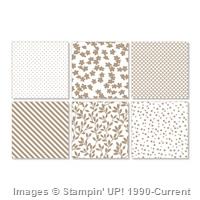
LOTS of freebie Sale-A-Bration items:  Big Day Stamp Set, Irresistably Yours Designer Series Paper, Coastal Cabana Blendabilities, Calypso Coral Blendabilities, Daffodil Delight Blendabilities! You can get these items, too!  Just go to my website and click Shop in the upper right corner.  You can choose a Sale-A-Bration item for each $50 order (before tax & shipping). Be sure to use Hostess Code 2VPZNBCY and allow me to contact you to receive a special thank you gift from me!

Have a great Monday, and stop by tomorrow to see the new Weekly Deals!

Happy Stamping,

Thursday, March 27, 2014

Happy Easter Class Projects

Despite the continuing chilly temperatures here in the mid-Atlantic, I have been thinking of Spring and recently held a class featuring some projects just in time for Easter.  (Hopefully, it WILL be warmer by April 20th!)  We made 2 Easter cards, a cute Easter bunny basket, and an M&M candy treat holder.

Here is the first card:


We stamped the Blessed Easter stamp (133212, $11.95) with Black StazOn Ink onto our water color paper.  Next, we used Aqua Painters to apply color to the leaves and tulips.  We used Pear Pizzazz for the leaves and stems.  The tulips were colored with a base of So Saffron, then highlighted with Crisp Cantaloupe.  I love water coloring.....it is so relaxing!

Our second card was based on a card by fellow demonstrator Karen Gibson.  Thanks, Karen!

Inspired by Karen Gibson.  Thanks, Karen!

I used the fun, new Arrows Textured Impressions Embossing Folder (132187, $7.95) for the background.  The "hey there!" stamp is from the Just Sayin' stamp set.  The coordinating Word Bubbles framelits make it easy-peasy to cut it out with your Big Shot machine.  You can purchase both products together in a bundle and save 15%!  Just use catalog number 134819 for Wood Mount ($43.95) or catalog number 134820 for Clear Mount ($37.25).  

The cute bunny was cut out with our Ovals Collection Framelits.  I used the exclusive Sale-A-Bration Designer Series Paper, Sweet Sorbet, for the bunny's ears and nose as well as the word bubble above his head.  You can earn the Sweet Sorbet Designer Series Paper with a $50 order (before tax & shipping) until the end of Sale-A-Bration on March 31, 2014.  Hurry and place your qualifying order at http://nancyamato.stampinup.net before it's too late!

The next project is a cute Easter bunny basket.  How cute is this little girl?


Once again, we used our Ovals Collection framelits to make this cutie!  Sweet Sorbet Designer Series Paper was once again used for the egg and the bunny ears.  Plus, we used the Decorative Dots Textured Impressions Embossing Folder (another fun Sale-A-Bration item you can earn!) to give our little honey bunny some texture.  Our Petite Purse die forms the basket on the back of the bunny.  Of course, we had a little chocolate to tuck inside (and nibble on!).

The final project is perfect for co-workers, neighbors, classmates -- anyone you want to give a little sweet treat to!


Some delicious, dark chocolate M&Ms (yummy) were stacked in one of our 1 x 8" cello bags and topped with a pretty pastel tag and ribbon.  The tag was stamped with the Chalk Talk stamp set and cut out with the coordinating Chalk Talk framelits.  And, YES -- you can bundle both of them together and save 15% -- Woohoo!  I also added a flower from the Petite Petals stamp set for a little dimension.

I hope you get inspired to create some fun projects for Easter.  If you are local to the Baltimore area, this is a sample of the types of projects we make at my classes.  Check out my Calendar of Events at http://nancyamato.stampinup.net for more details.  I hope to stamp with you soon!

Happy Stamping,

Thursday, February 13, 2014

RemARKable Stampers Pinworthy Blog Tour: Banners

Hello, and welcome to the RemARKable Stampers Pinworthy Blog Tour!  Our theme this month is banners.  Banners are very trendy now, and can be used as home décor for holidays, party decorations, cake toppers, and even appear on greeting cards and scrapbook pages! 

My first project is a banner that I created just in time for Valentine's Day:


I used the Hearts Framelits to create this banner.  I cut two large scalloped hearts from Real Red card stock and two from Coastal Cabana card stock.  I used the Fresh Prints Designer Series Paper Pack in the 2014 Occasions Catalog as my inspiration for the color scheme -- I love how Real Red, Coastal Cabana, and Whisper White look together. 

And, what is Valentine's Day without a little "bling?"  The letters were cut twice:  once with Silver Glimmer Paper and once with Basic Black card stock.  I used Tombow Multipurpose Adhesive to attach the Basic Black letters behind the Silver Glimmer letters to give them a drop shadow effect.  This helps the letters stand out from the smallest hearts. 


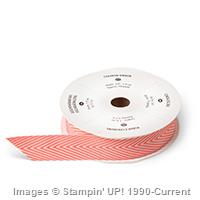
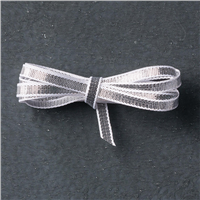
Simply punch holes on either side of the hearts and use 4 feet of our Real Red 1/4" Stitched Grosgrain Ribbon to string it together.  I used our Whisper White 5/8" Organza Ribbon to tie bows between each heart and on either end of the banner.  A simple, quick and easy Valentine's Day Banner!

Speaking of Valentine's Day, my second project features mini banners on a Valentine's Day card.  I used three Sale-A-Bration items to make this card.  Did you know that you can get a FREE Sale-A-Bration item with every $50 order (before tax and shipping) you place an order from now until March 31, 2014?  Yes, you do -- Woohoo!


I used the Decorative Dots embossing folder, the Banner Blast stamp set, and the Banner punch to make this card.  I used the Banner punch and the Fresh Prints Designer Series Paper to punch the two small banners on either end.  I stamped the other three with the Banner Blast stamp set, then punched out the stamped images with the Banner punch.  I love how quick and easy it is to create these mini-banners!

I also used the new Banners Framelits Dies and the Perfect Pennants stamp set.  Did you know that you can bundle the Perfect Pennants stamp set with the Banners Framelits Dies and save 15%?  You sure can!

Here is a similar idea, but this time I made it into a birthday card for my sister -- shhhh....don't tell her! 

 
I used the Birthday Wishes Designer Series Paper for two of the mini banners and stamped the rest.  The banner punch makes quick work of punching these little guys out!  I stamped the greeting with Gumball Green ink onto Very Vanilla card stock, then ran it through the Big Shot with the Decorative Dots embossing Folder.  The greeting is from another cute Sale-A-Bration stamp set called See Ya Later.  This is another item you can earn for FREE during Sale-A-Bration.

You can also make cupcake decorations with banners!  I used the Banners Framelits to cut out two banners, then used Raspberry Ripple ink and Very Vanilla card stock to stamp the Celebrate greeting from the Starburst Sayings stamp set.   


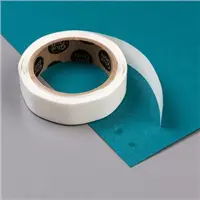
Cutting out the Starburst Saying is easy-peasy with the new Starburst Framelits Dies.  And, YES -- you can get the stamp set and the coordinating framelits and save 15%!  Woohoo!  I attached a toothpick to the edges of the banners with Sticky Strip, then popped the greeting up with some Stampin' Dimensionals.  How cute is this?


My final project is another home décor banner that I created today.  We received a foot of snow last night, and this storm had me longing for Spring! 


Since I could not change the weather, I decided to create a little bit of Spring while I was stuck inside for the day.  I hope you like it!


I love the Gingham Garden Designer Series Paper, and I thought it was perfect for a bright and cheerful banner.  I used the Banner Framelits and the Starburst Framelits for this project.  The beautiful roses were created using the new Spiral Flower Original Die.  I cut two flowers from different color card stock and twisted them at the same time to get a two-tone effect.  I learned that a pair of tweezers is your best friend when making these beautiful roses!

I hope you are inspired to create some lovely banners of your own!  They really are a lot of fun, and very easy to make.

Now, it's time to see what Melissa Bolinger has for us this month! 

http://www.stampinup.net/esuite/home/missybolinger/blog


http://www.stampinup.net/esuite/home/missybolinger/blog


Happy Stamping,