Tuesday, February 17, 2015
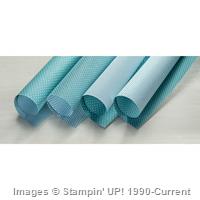
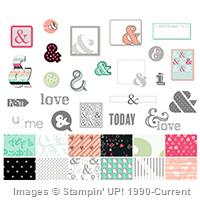
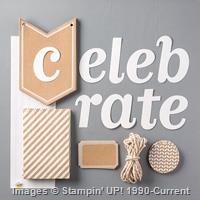
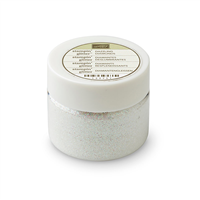
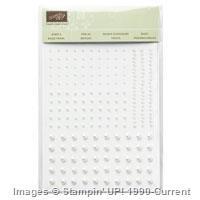
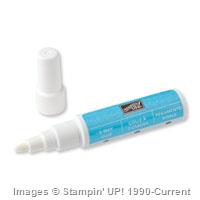
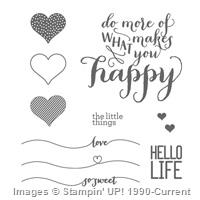
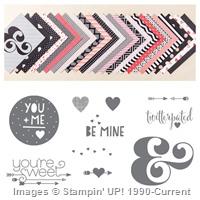
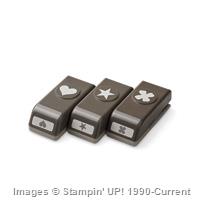
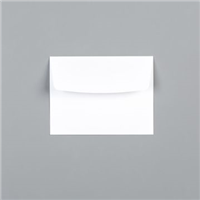
Weekly Deals: February 17 - 23
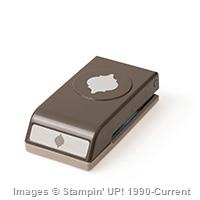
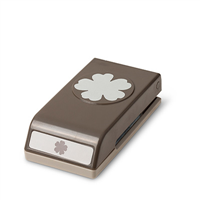
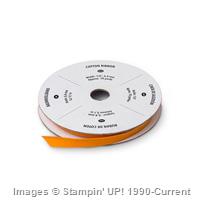
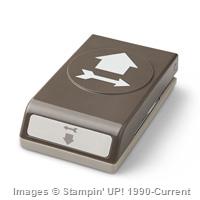
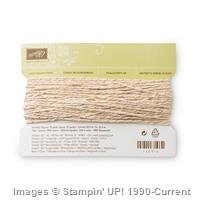
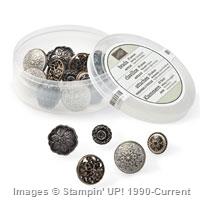
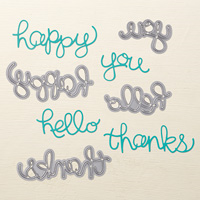
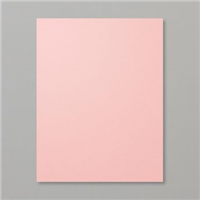
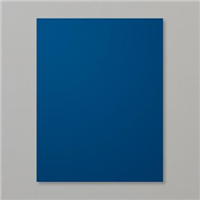
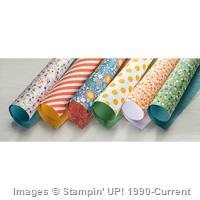
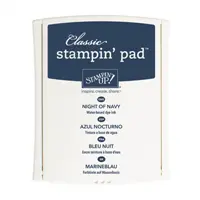
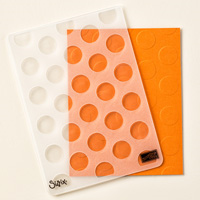
Here are the weekly deals from Stampin' Up! I am finalizing an order today, so let me know if you would like to add anything!
Monday, February 16, 2015
Ooohhh -- Sparkly!
Hello, and Happy Monday! My Stamp Club ladies met last week, and one of the cards we made started out with these:
I picked up these napkins a while back at the Dollar Store. Here is what we created with them:
Now you know why I chose "Ooohhh -- Sparkly" as the title for this blog post. :-) This card was made using the "Glitter Napkin Technique." This is a fun and easy technique!
We are getting snow tonight into tomorrow, and it looks just like Dazzling Diamonds as it is glistening on the porch railings, deck, and just about everywhere! I think the saying "little flakes, big snow" will be coming true for us over the next day or so. I will be organizing my craft room (again!) tomorrow -- wish me luck!
Stay Warm & Happy Stamping,
I picked up these napkins a while back at the Dollar Store. Here is what we created with them:
 |
| Here is a close-up of the Dazzling Diamonds on the front of the card. The photo does not adequately capture the sparkle you see when you hold this card in real life! |
Now you know why I chose "Ooohhh -- Sparkly" as the title for this blog post. :-) This card was made using the "Glitter Napkin Technique." This is a fun and easy technique!
Here’s what you need:
Whisper White card stock
Paper napkin with a design on it
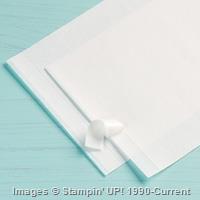
Transfer Adhesive Sheets
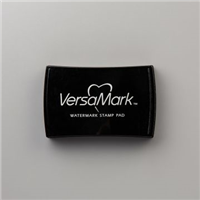
Versamark stamp pad
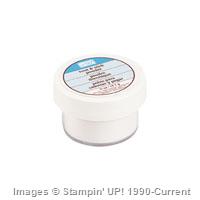
Heat and Stick Powder
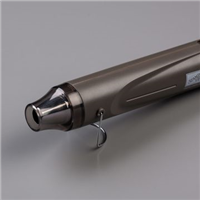
Heat tool
Dazzling Diamonds
Paper snips/scissors
Here’s how you do it:
1. Unfold the napkin
and remove all of the white layers inside the napkin. You will only be using the printed layer of
the napkin. Use scissors or paper snips
to cut the napkin slightly larger than your piece of Whisper White card
stock. Set aside.
2.
Cut the Transfer
Adhesive Sheet to match the size of the Whisper White card stock. Remove protective layer of adhesive sheet,
and press Whisper White card stock on top of adhesive sheet. Rub to transfer adhesive to card stock.
3.
Remove second
protective layer from the adhesive sheet that is now on the Whisper White card
stock. Turn the napkin face down onto the table, and then
place the Whisper White card stock – adhesive side DOWN – onto the napkin. Press with hands to stick card stock to
napkin. Use scissors or paper snips to
trim excess napkin from card stock.
4.
Smash Versamark
ink pad all over the front of the napkin.
Make sure you ink it well because this is what will grab the Heat and
Stick Powder. Pour Heat and Stick Powder
all over the front of the napkin. Tap
off excess, then heat to melt with heat tool.
(You will notice that Heat and Stick powder will turn clear as it
melts.)
5.
Pour Dazzling
Diamonds all over the front of the napkin.
Shake off excess, then heat with heat tool to “set” the Dazzling
Diamonds into the Heat and Stick Powder.
(The first time you melt the Heat and Stick powder it will become
sticky, the second time you heat the Heat and Stick powder it will set and no
longer be sticky.)
6.
Layer your
Glittery Napkin piece onto coordinating card stock and mount on your card.
Here are the supplies I used to make this card:
Built for Free Using: My Stampin Blog
We are getting snow tonight into tomorrow, and it looks just like Dazzling Diamonds as it is glistening on the porch railings, deck, and just about everywhere! I think the saying "little flakes, big snow" will be coming true for us over the next day or so. I will be organizing my craft room (again!) tomorrow -- wish me luck!
Stay Warm & Happy Stamping,
Lovely Amazing You
I wanted to let you know about a new stamp set that was just released last week: Lovely Amazing You. It is the new photopolymer stamp set for this month, and it is on my "gotta have" list!
The hand-written style sentiments are so stinkin' cute! This set is very versatile, and is only $14.95 -- wow! The catalog number is 140594. Here are some samples that were made using this fun, new set:
I will have this baby in my hot little hands (actually, very cold hands -- it is supposed to be 1 degree tonight -- Brrrr!) very shortly. I cannot wait to start creating with it and sharing my projects with you.
You can order this stamp set on my website and click on the Shop button. Remember to use Hostess Code 2VPZNBCY and allow me to contact you to receive a special thank you gift from me! And, remember -- you get to choose a FREE Sale-A-Bration item for every $50 order (before tax & shipping).
Happy Stamping,
Sunday, February 15, 2015
Stamp With Your Friends During Sale-A-Bration
Now is a great time to have a Stampin' Up! get-together! You invite your friends to a fun evening of stamping and I bring all of the supplies to make some fun projects. Your friends get to choose FREE Sale-A-Bration products to add to their orders of $50 or more (before tax & shipping), and you get to receive an extra $25 in Hostess Dollars when your party order totals $250 or more (before tax & shipping).
I have dates available on my calendar, so contact me to book your date. Sale-A-Bration ends on March 31, 2015, so don't delay -- book your get-together today!
Happy Stamping,
Butterfly Peek-A-Boo card
Hello! Today's card is one I like to call a Butterfly Peek-A-Boo card because you can see the pretty designer series paper behind the beautiful butterfly. What do you think?
I saw a similar idea on Pinterest, so I thought I would give it a try myself! I cut the Whisper White layer 3 3/4" by 5" and used the medium butterfly in the Butterflies Thinlits to cut out the butterfly. Next, I ran the panel through the Big Shot with the Polka Dot embossing folder. I cut a small rectangle approximately 3 1/2"
by 2 1/2" (big enough to cover the butterfly hole) from some pretty paper from the Flower Pot Designer Series Paper, and attached it to the back of the Whisper White panel.
Next, use SNAIL adhesive to attach this layer to the Blushing Bride layer. Use a 2-Way Glue Pen to apply some glue to the back of the butterfly's body, and press the butterfly back into the cut-out area. Gently curve the wings out, and add a large pearl for the butterfly's head.
Here is a close-up of the butterfly:
I used the Hello You Thinlits to cut the "hello" from Night of Navy card stock. And, since it is Sale-A-Bration, I used the Simply Wonderful Sale-A-Bration stamp set to stamp the sentiments inside and on the envelope flap.
Here are the supplies I used for this card:
You can order these items on my website. Be sure to use Hostess Code 2VPZNBCY and allow me to contact you to receive a special thank you gift from me! And, remember -- you get to choose a FREE Sale-A-Bration item for every $50 order (before tax & shipping).
Happy Stamping,
I saw a similar idea on Pinterest, so I thought I would give it a try myself! I cut the Whisper White layer 3 3/4" by 5" and used the medium butterfly in the Butterflies Thinlits to cut out the butterfly. Next, I ran the panel through the Big Shot with the Polka Dot embossing folder. I cut a small rectangle approximately 3 1/2"
by 2 1/2" (big enough to cover the butterfly hole) from some pretty paper from the Flower Pot Designer Series Paper, and attached it to the back of the Whisper White panel.
Next, use SNAIL adhesive to attach this layer to the Blushing Bride layer. Use a 2-Way Glue Pen to apply some glue to the back of the butterfly's body, and press the butterfly back into the cut-out area. Gently curve the wings out, and add a large pearl for the butterfly's head.
Here is a close-up of the butterfly:
I used the Hello You Thinlits to cut the "hello" from Night of Navy card stock. And, since it is Sale-A-Bration, I used the Simply Wonderful Sale-A-Bration stamp set to stamp the sentiments inside and on the envelope flap.
Here are the supplies I used for this card:
Happy Stamping,
Saturday, February 14, 2015
Happy Valentine's Day!
I hope you are having a sweet day with those you love! I have a few projects to show you today, so let's get started.
Here is a quick and easy Valentine's Day card we made at Stamp Club this week:
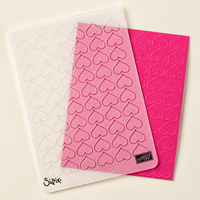
I love how the small heart punch from the Itty Bitty Accents Punch Pack is the same size as the hearts of the Happy Heart Embossing Folder! And, remember to stamp you envelopes! I think it is great to coordinate my envelopes with my cards, don't you?
I also wanted to share a quick photo of some candy treats I made for the patients at my cancer center:
I used our 2" Circle Punch and Whisper White card stock for the circle. I embossed it with our Happy Hearts Embossing Folder to give it a little texture. The stamp was from the January Paper Pumpkin kit (I LOVE Paper Pumpkin!).
Did you know that you can get a 3-Month Subscription to Paper Pumpkin for a reduced price of only $54.85, and shipping is included in the price? YES -- but you must purchase your subscription by March 31, 2015. And, since it is Sale-A-Bration, you even get to choose a FREE Sale-A-Bration item! (You can also purchase a 6-Month Paper Pumpkin Subscription for $113.70 and choose 2 FREE Sale-A-Bration items, or a 12-Month Paper Pumpkin Subscription for $215.40 and earn Hostess Dollars and 4 FREE Sale-A-Bration items!) You can order your Paper Pumpkin subscription on my website and be sure to use Hostess Code 2VPZNBCY and allow me to contact you to receive a special thank you gift from me!
Okay -- back to the stamping! I used Momento Tuxedo Black ink to stamp onto Melon Mambo hearts cut with our Sweetheart Punch. I attached the circle to the candy with a Stampin' Dimensional, and attached the hearts to the circle with another Stampin' Dimensional. A little bit of tulle tied into a bow jazzed up my old basket a bit, too!
This Valentine's weekend, do something kind for someone else. You will be amazed at how good it makes you feel!
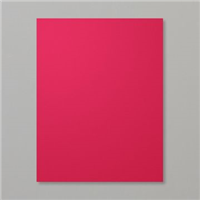
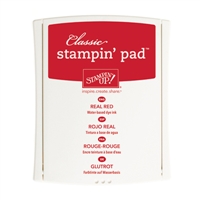
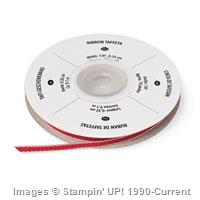
Here are the supplies I used to make the Valentine's Day card:
Have a fabulous Valentine's Day, and I will be back soon to show you the other Stamp Club cards.
Happy Stamping,
Here is a quick and easy Valentine's Day card we made at Stamp Club this week:
I love how the small heart punch from the Itty Bitty Accents Punch Pack is the same size as the hearts of the Happy Heart Embossing Folder! And, remember to stamp you envelopes! I think it is great to coordinate my envelopes with my cards, don't you?
I also wanted to share a quick photo of some candy treats I made for the patients at my cancer center:
I used our 2" Circle Punch and Whisper White card stock for the circle. I embossed it with our Happy Hearts Embossing Folder to give it a little texture. The stamp was from the January Paper Pumpkin kit (I LOVE Paper Pumpkin!).
Did you know that you can get a 3-Month Subscription to Paper Pumpkin for a reduced price of only $54.85, and shipping is included in the price? YES -- but you must purchase your subscription by March 31, 2015. And, since it is Sale-A-Bration, you even get to choose a FREE Sale-A-Bration item! (You can also purchase a 6-Month Paper Pumpkin Subscription for $113.70 and choose 2 FREE Sale-A-Bration items, or a 12-Month Paper Pumpkin Subscription for $215.40 and earn Hostess Dollars and 4 FREE Sale-A-Bration items!) You can order your Paper Pumpkin subscription on my website and be sure to use Hostess Code 2VPZNBCY and allow me to contact you to receive a special thank you gift from me!
Okay -- back to the stamping! I used Momento Tuxedo Black ink to stamp onto Melon Mambo hearts cut with our Sweetheart Punch. I attached the circle to the candy with a Stampin' Dimensional, and attached the hearts to the circle with another Stampin' Dimensional. A little bit of tulle tied into a bow jazzed up my old basket a bit, too!
This Valentine's weekend, do something kind for someone else. You will be amazed at how good it makes you feel!
Here are the supplies I used to make the Valentine's Day card:
Built for Free Using: My Stampin Blog
Have a fabulous Valentine's Day, and I will be back soon to show you the other Stamp Club cards.
Happy Stamping,
Subscribe to:
Comments (Atom)

